บทความ

กำลังแสดงโพสต์จาก กรกฎาคม, 2018

งาน arduino 8 Learning multifunction shield

รูปภาพ
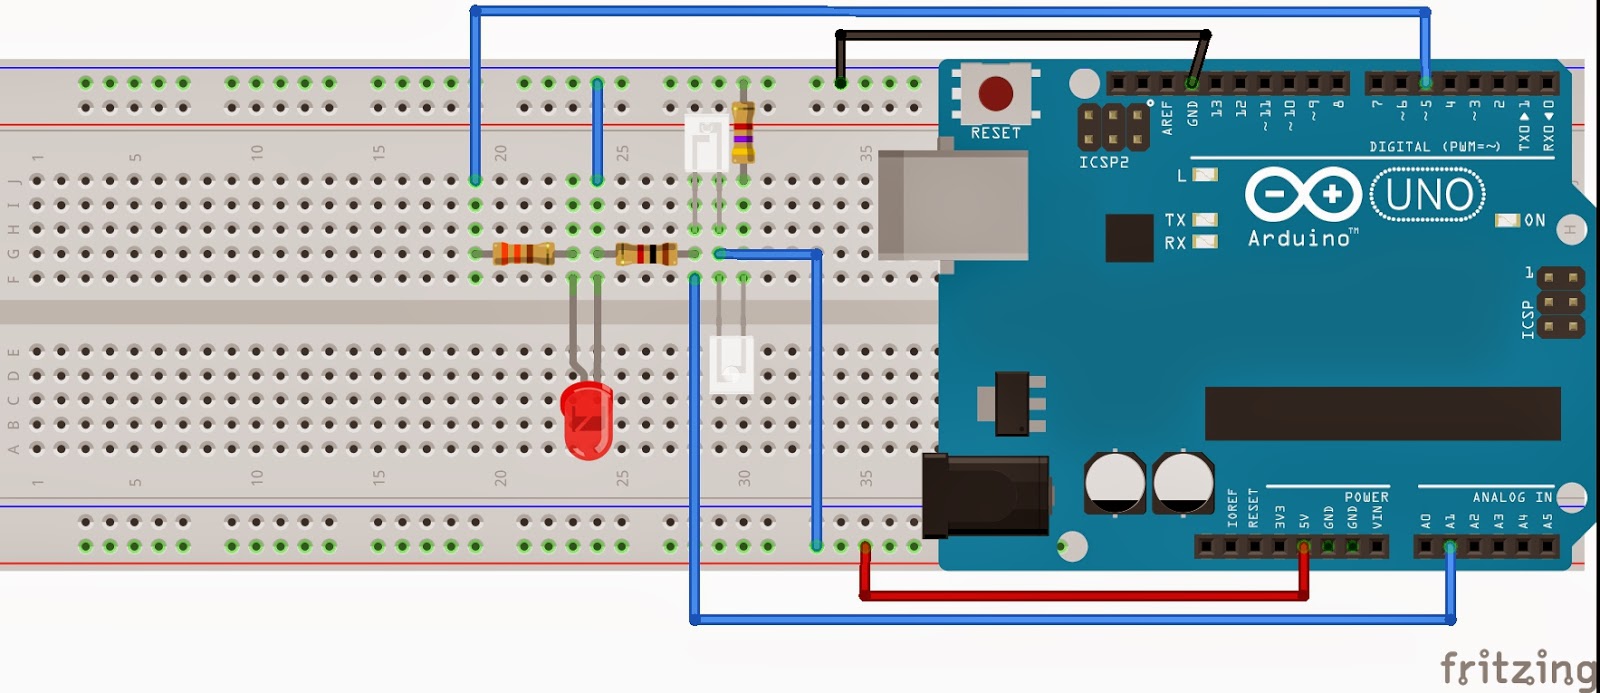
Learning multifunction shield Shield เดียว 19 การทดลอง พร้อมโค้ดตัวอย่าง          Shield ตัวนี้เหมาะสำหรับผู้ที่จะเริ่มต้นศึกษาการใช้งาน บอร์ด arduino เป็นอย่างมาก จะทำให้เข้าใจในเรื่องของการใช้ฟังก์ชั่น analogRead(),  analogWrite(), digitalRead(), digitalWrite(), การควบคุม Servo Motor การใช้ 7 Segment การอ่านค่าเซ็นเซอร์ต่างๆ ทั้งแบบ Digital และแบบ Analog อีกทั้งยังรวบรวมตัวอย่างการประยุกใช้งานไว้อีกมากมายรวมทั้งหมด 19 ตัวอย่างใน shield เดียว Pins ใช้งาน D2: IR Sensor; D3: Buzzer; D4: latchPin (For 7 Segment); D5: PWM/Sensor; D6: PWM/Sensor; D7: clockPin (For 7 Segment); D8: dataPin (For 7 Segment); D9: PWM/Sensor; D10: control LED4/PWM Pin; D11: control LED3/PWM Pin; D12: control LED2; D13: control LED1/PWM Pin; A0 : Potentiometer; A1 : Switch S1; A4 : Switch S2/LM35 Sensor; A5 : Switch S3; ข้อมูลเพิ่มเติม   Schematic    Example Code for Arduino      Example Code for Arduino (full)   passw

งาน arduino 7 Voltage Sensor

รูปภาพ
Voltage Sensor Voltage Sensor เป็นเซนเซอร์ที่ใช้วัดแรงดันไฟฟ้าได้ตั้งแต่ 0-24V  Output ที่ได้เป็นแบบ Analog 0-1023 Product Details: Voltage Sensor Module Condition: New This module is based on principle of resistive voltage divider design, can make the red terminal connector input voltage to 5 times smaller. Arduino analog input voltages up to 5 v, the voltage detection module input voltage not greater than 5Vx5=25V (if using 3.3V systems, input voltage not greater than 3.3Vx5=16.5V). Arduino AVR chips have 10-bit AD, so this module simulates a resolution of 0.00489V(5V/1023), so the minimum voltage of input voltage detection module is 0.00489Vx5=0.02445V การต่อวงจร   โค้ดตัวอย่างการใช้งาน ดาวน์โหลดโค้ดตัวอย่าง(คลิ๊ก) รีวิว

งาน arduino 6 water sensor

รูปภาพ
Water Sensor ตัวอย่างการต่อวงจร โค้ดตัวอย่าง ดาวน์โหลดโค้ดตัวอย่าง ผลการทดสอบ

งาน arduino 5 photo transistor

รูปภาพ
photo transistor Code Arduino const byte Input = A1; const byte LED = 5; void setup(){   pinMode(Input,INPUT);   pinMode(LED,OUTPUT);   digitalWrite(LED,LOW);   analogReference(DEFAULT);   Serial.begin(9600); } void loop(){   float distance = analogRead(Input);     Serial.println(distance);   if(distance > 170){ //have objects Value between 170-255       distance = (1/distance)*100000; //Scale       digitalWrite(LED, HIGH); //LED on        delay(distance); //delay       digitalWrite(LED, LOW); //LED off       delay(distance); //delay   }   else //value 0-170    digitalWrite(LED,LOW); }           รูปถ่ายการทดลองประกอบตัวอย่าง ตัวอย่างการออกแบบวงจร  ตัวอย่างการต่อวงจร การทดลองโดยนำกระดาษมาบังแสงตรงโฟโต้ทรานซิสเตอร์

งาน arduino 4 PIR Detector Module (เชนเซอร์ตรวจจับความเคลื่อนไหว)

รูปภาพ
PIR Detector Module (เชนเซอร์ตรวจจับความเคลื่อนไหว) ตรวจจับความเคลื่อนไหวในระยะ 3-7  เมตร รัศมีการทำงาน 140 องศา สามารถตั้งค่าเวลาในการตรวจจับได้  มีช่องให้ต่อ LDR เพิ่ม เพื่อให้ทำงานเฉพาะกลางคืน Output เป็นแบบ Digital จะส่งลอจิก 0 (ไม่จ่ายไฟ) ออกมาตอนทำงาน ลอจิก 1 (จ่ายไฟ) ตอนไม่ทำงาน Features : Dimension: 3.2cm x 2.4cm x 1.8cm (approx) Infrared sensor with control circuit board The sensitivity and holding time can be adjusted Working Voltage Range: DC 4.5V- 20V Current drain:<60uA Voltage Output: High/Low level signal:3.3V TTL output Detection distance: 3--7M(can be adjusted) Detection range: <140° Delay time: 5-200S(can be adjusted, default 5s +-3%) Blockade time: 2.5 S (default) Trigger: L: Non-repeatable trigger  H: Repeat Trigger (default) Work temperature:-20-+80°C Trigger Method: L unrepeatable trigger / H repeatable trigger การต่อวงจร Arduino PIR sensor 5V VCC GND GND pin 2 pin (กลาง) *** บางรุ่นขาอาจสลับกัน โค้ดตัวอย่างการใช้งาน

งาน arduino 3 Force Sensor

รูปภาพ
Force Sensor Force Sensitive Resistor (FSR402) เป็นเซ็นเซอร์วัดแรงกดในช่วง 0.1N-10N ค่าที่วัดได้จะเป็นแบบ Analog 0-5VDC (0-1023) ใช้ไฟเลี้ยง  5VDC   The standard 402 sensor is a round sensor 18.28 mm in diameter. Custom sensors can be manufactured in sizes ranging from 5 mm to over 600 mm. Female connector and short tail versions can also be ordered.   Features : Actuation force as low as 0.1 N and sensitivity range to 10 N. Easily customizable to a wide range of sizes Highly repeatable force reading; as low as 2% of initial reading with repeatable actuation system Cost effective Ultra thin; 0.45 mm Robust; up to 10 million actuations Simple and easy to integrate Applications : Detect andqualify press - Sense whether a touch is accidental or intended by reading force Use force for UI feedback - Detect more or less user force to make a more intuitive interface Enhance tool safety - Differentiate a grip from a touch as a safety lock Find centroid of force - Use mu

งาน arduino 2 gas sensor

รูปภาพ
gas sensor Alcohol Sensor  เป็นเซนเซอร์วัดระยะที่ใช้วัดปริมาณของ  Alcohol มี Output ให้เลือกใช้งาน ทั้งแบบ Analog และ Digital โดย Output ของแบบ Digital  สามารถกำหนดช่วงการทำงานได้โดยปรับค่าที่ Potentiometer Datasheet   การต่อวงจร Arduino  Alcoho l  sensor 5V VCC  GND GND  pin A0 A0    โค้ดตัวอย่างการใช้งาน int mq3_analogPin = A0; // connected to the output pin of MQ3  void setup() { Serial.begin(9600); // open serial at 9600 bps } void loop() {   // give ample warmup time for readings to stabilize   int mq3_value = analogRead(mq3_analogPin);   Serial.println(mq3_value);   delay(100); //Just here to slow down the output. }

งาน arduino1 ultrasonic

รูปภาพ
Specification: Working Voltage : 5V(DC) Static Current: Less than 2mA. Output Signal: Electric frequency signal, high level 5V, low level 0V. Sensor Angle: Not more than 15 degrees. Detection Distance: 2cm-400cm. High Precision: Up to 0.3cm Input Trigger Signal: 10us TTL impulse Echo Signal : output TTL PWL signal โค้ดตัวอย่างการใช้งาน /* HC-SR04 Ping distance sensor: VCC to arduino 5v GND to arduino GND Echo to Arduino pin 7 Trig to Arduino pin 8 This sketch originates from Virtualmix: http://goo.gl/kJ8Gl Has been modified by Winkle ink here: http://winkleink.blogspot.com.au/2012/05/arduino-hc-sr04-ultrasonic-distance.html And modified further by ScottC here: http://arduinobasics.blogspot.com.au/2012/11/arduinobasics-hc-sr04-ultrasonic-sensor.html on 10 Nov 2012. */ #define echoPin 7 // Echo Pin #define trigPin 8 // Trigger Pin #define LEDPin 13 // Onboard LED int maximumRange = 200; // Maximum range needed int minimumRange = 0; // Minimum range n