งาน arduino 8 Learning multifunction shield

Shield เดียว 19 การทดลอง พร้อมโค้ดตัวอย่าง
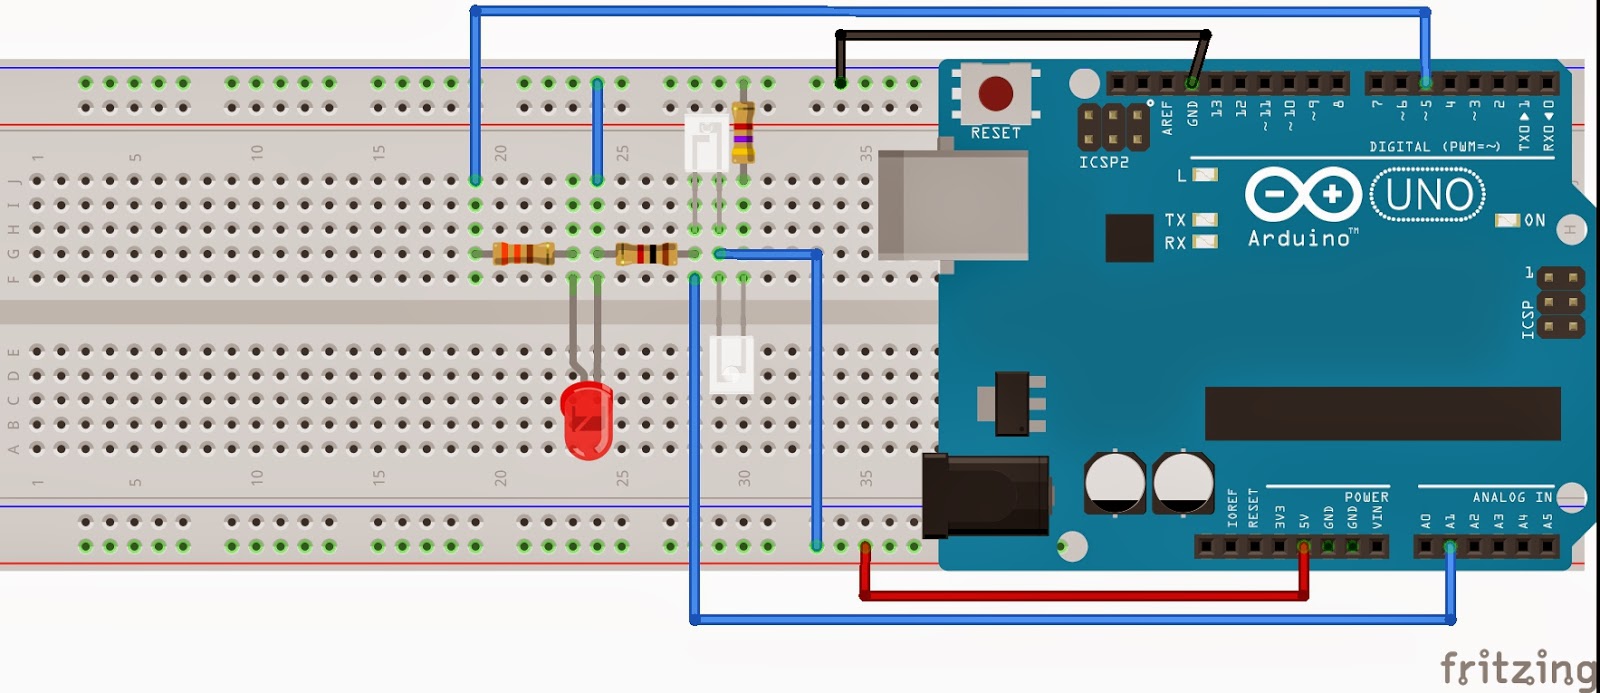
Shield ตัวนี้เหมาะสำหรับผู้ที่จะเริ่มต้นศึกษาการใช้งาน บอร์ด arduino เป็นอย่างมาก จะทำให้เข้าใจในเรื่องของการใช้ฟังก์ชั่น analogRead(), analogWrite(), digitalRead(), digitalWrite(), การควบคุม Servo Motor การใช้ 7 Segment การอ่านค่าเซ็นเซอร์ต่างๆ ทั้งแบบ Digital และแบบ Analog อีกทั้งยังรวบรวมตัวอย่างการประยุกใช้งานไว้อีกมากมายรวมทั้งหมด 19 ตัวอย่างใน shield เดียว
Pins ใช้งาน
- D2: IR Sensor;
- D3: Buzzer;
- D4: latchPin (For 7 Segment);
- D5: PWM/Sensor;
- D6: PWM/Sensor;
- D7: clockPin (For 7 Segment);
- D8: dataPin (For 7 Segment);
- D9: PWM/Sensor;
- D10: control LED4/PWM Pin;
- D11: control LED3/PWM Pin;
- D12: control LED2;
- D13: control LED1/PWM Pin;
- A0 : Potentiometer;
- A1 : Switch S1;
- A4 : Switch S2/LM35 Sensor;
- A5 : Switch S3;
ข้อมูลเพิ่มเติม
- Schematic
- Example Code for Arduino
- Example Code for Arduino (full)
- password : www.arduinothai.com2014

int latchPin = 4;
int clockPin =7;
int dataPin = 8;
int count =0;
int times =0;
int times2 =0;
unsigned char Dis_table[] = {0xC0,0xF9,0xA4,0xB0,0x99,0x92,0x82,0xF8,0X80,0X90}; // ค่าตัวเลขที่ใช้แสดงใน 7 segment
unsigned char Dis_buf[] = {0xF1,0xF2,0xF4,0xF8}; //ตำแหน่งของ 7 segment ที่ต้องการแสดง
void setup ()
{
//Serial.begin(9600);
pinMode(latchPin,OUTPUT);
pinMode(clockPin,OUTPUT);
pinMode(dataPin,OUTPUT);
}
void loop()
{
for(int i =0; i <=3; i++) // แสดงตัวเลขที่ 7 segment
{
digitalWrite(latchPin,LOW);
shiftOut(dataPin,clockPin,MSBFIRST,Dis_table[count]);
shiftOut(dataPin,clockPin,MSBFIRST,Dis_buf[i] );
digitalWrite(latchPin,HIGH);
delay(2);
}
times2 = millis();
if((times2 - times) >= 1000)
{
count++;
//Serial.println(count);
if(count > 9)
count = 0;
times = millis();
}
}


ความคิดเห็น
แสดงความคิดเห็น